.webp)

You know the feeling: You hit “send” on an email or pick up a fresh copy of the magazine that just went into the mail, and there it is — a typo so obvious you can’t believe you didn’t catch it. Now it’s too late.
Ideally, glaring mistakes (and sneakier ones) should be caught in the proofreading process. But the reality is, something almost always slips through. It’s hard to stay sharp and meticulous when you’ve been staring at the same document since it was a blank page.
Over nearly a decade of writing and editing professionally, I’ve had my share of eyes-glazing-over, can’t-tell-you’re-from-your moments. But through my time editing pages of alumni notes for university magazines, blog posts and emails for marketing campaigns, and assorted web content, I’ve developed a few proofreading techniques that help keep my mind focused and sharp as I sift through yet another page of written content.
I’m sharing them here so you can work them into your own proofreading process, and reap the benefits of (nearly) error-free content.
Before we get into them, though, let’s make sure we’re on the same page:
What is Proofreading?
Proofreading is that last stage of editing before sending a written work to be published. Unlike developmental editing (which focuses on big-picture structure in a longer work like a story or article) or copyediting (aka line editing, which focuses on the expression of ideas on the sentence and paragraph levels and makes sure that the language flows well), proofreading is primarily focusing on fixing mistakes.
Proofreading looks for spelling, grammar, and punctuation errors. It makes sure words are used correctly and names are spelled and capitalized properly.
Sometimes, a proofreader will catch a bigger issue — like misuse of a word or clumsy wording — that they flag for a higher-level editor or the author to check. But because proofreading is so late in the workflow, those sorts of flags are reserved for things that would trip up the reader, not the proofreader’s personal preferences.
Proofreaders make sure the text adheres to the preferred editorial style, whether that’s Chicago Style, AP Style, MLA, or APA — or a hybrid house style (many companies have their own preferred editorial style).
The editorial style determines the correct use of:
- Hyphens in compound words
- Punctuation and capitalization conventions for media titles, subheadings, degrees, job/personal titles (Mr., Mrs.)
- Oxford/serial comma
- Spaces around M-dashes
And that’s just naming a few.
Before you start proofreading anything, you need to know what style you’re proofreading for.
Some Tools to Keep on Hand
You can skip the red pen. After all, most editing today takes place on the screen with Google Docs’ “Suggesting” function, Microsoft Word’s track changes or with AI writing assistants like Wordtune. But there are still a few things you’ll want to keep handy for easy reference.
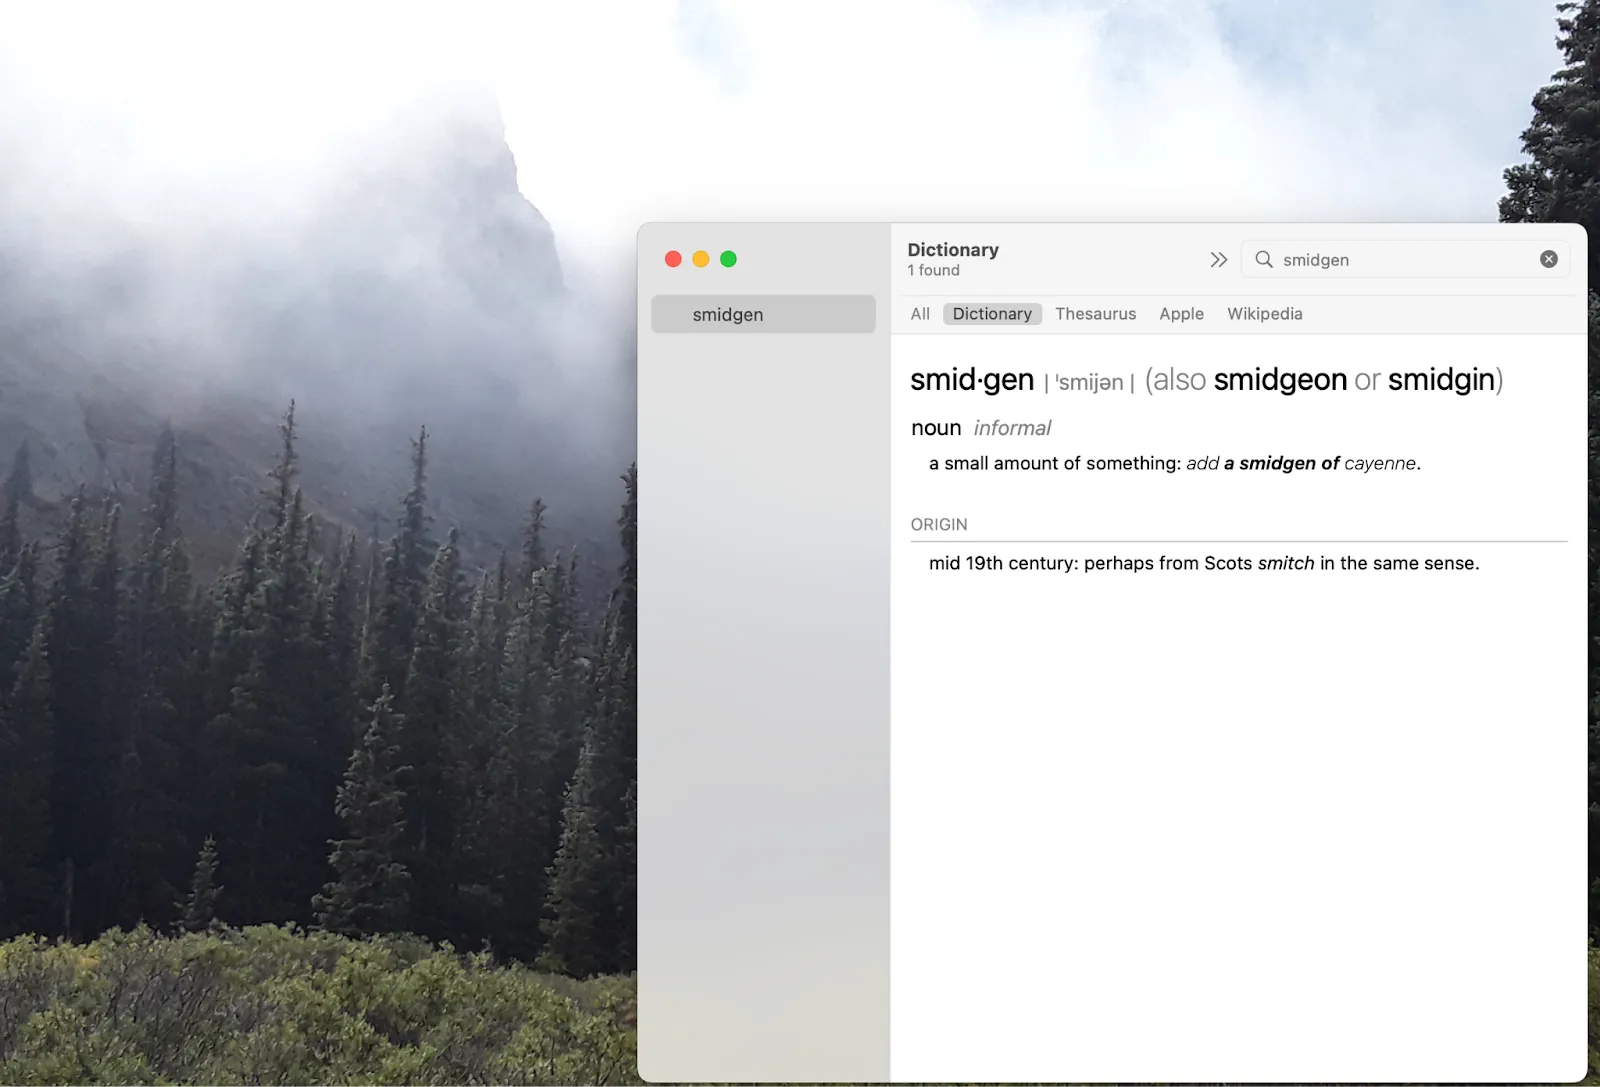
- Dictionary: I use the dictionary app on my computer, but you could use dictionary.com or merriam-webster.com. A virtual dictionary will be more up-to-date than the paper behemoths collecting dust on your shelf.
- Editorial Style Guide: I prefer a physical copy of the Chicago or AP Style guide, but you can also subscribe to these guides online for the most up-to-date style conventions.
- House Style Guide (if applicable): If you’re proofreading for a company that has their own style guide, make sure to keep that guide open on your desktop as you review their content. If your company doesn’t maintain its own style guide, create a working document to keep track of the editorial conventions you set as you edit.
- Notepad and Pen: These tools come in handy when you’re editing a longer piece and need to keep track of various terms and conventions that come up along the way. More on this in the next section.
- AI Writing Tools: AI writing assistants such as Wordtune can be a huge help when trying to catch grammatical errors as well as typos.
9 Proofreading Techniques to Help You Catch Embarrassing Mistakes
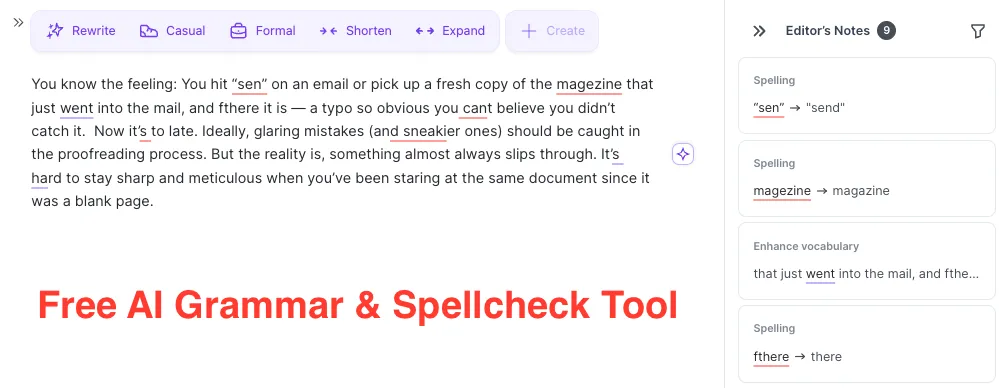
1. Run your text through a spelling and grammar checker.
This initial step is great for catching low-hanging fruit as well as some obvious yet tricky errors that can sometimes make it past a standard skimming. I like to use Wordtune for this, but any decent grammar tool should do the trick.
2. Make a list of common mistakes, and search for them.
Every writer has their weaknesses, and as an editor, you’ll probably pick up on what those are. Maybe the writer you’re working with always uses serial commas or keeps misspelling their main source’s name. As you go through the document, write down the mistakes you come across. After you’ve finished your first round of edits, hit Command + F (or Ctrl + F for Microsoft) and search for each of those mistakes.
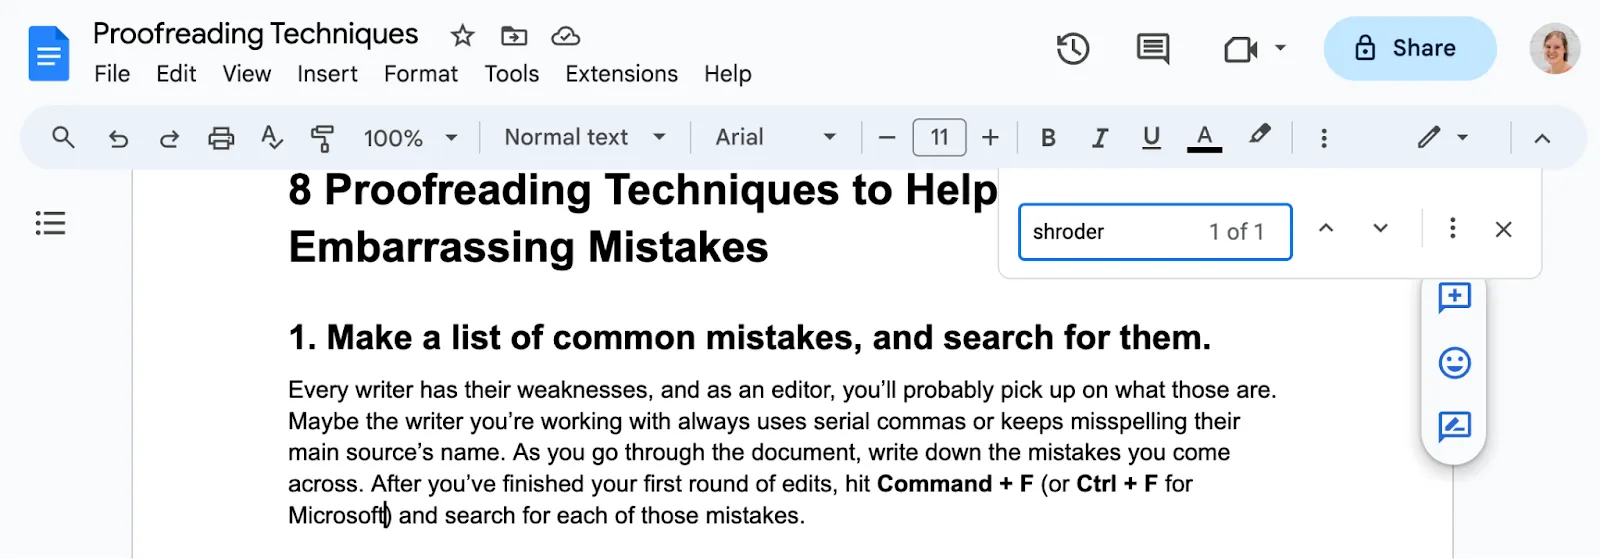
For this to work, you need to search the wrong thing. For example:
- Shroder, instead of Schroder.
- , and if you’re not supposed to use the serial comma.
- Horay, instead of Hooray.
- pm, instead of P.M.
3. Every time you come across a proper noun, look it up.
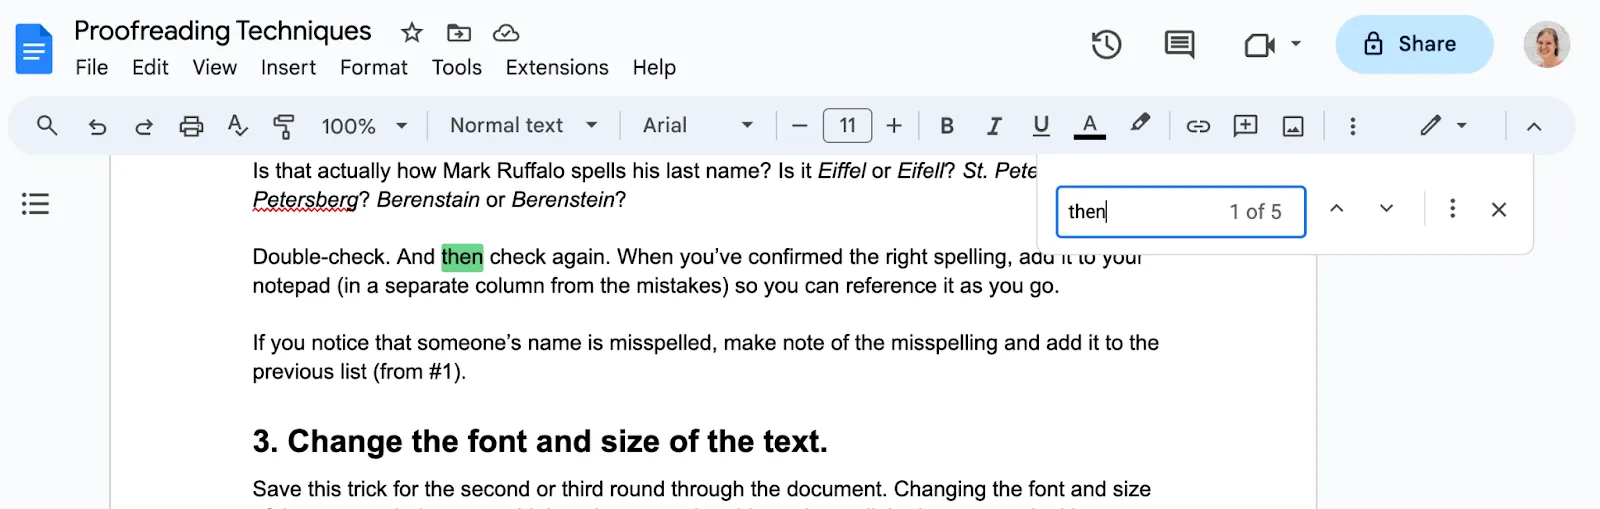
Is that actually how Mark Ruffalo spells his last name? Is it Eiffel or Eifell? St. Petersburg or St. Petersberg? Berenstain or Berenstein?

Double-check. And then check again. When you’ve confirmed the right spelling, add it to your notepad (in a separate column from the mistakes) so you can reference it as you go.
If you notice that someone’s name is misspelled, make note of the misspelling and add it to the previous list (from #1).
4. Change the font and size of the text.
Save this trick for the second or third round through the document. Changing the font and size of the text can help you avoid that glazey-eyed problem where all the letters start looking wrong and you start questioning if “the” is actually spelled t-h-e.

It also changes where lines break up the sentences so different things will stick out to you. (Just remember to change the font and size back to what it’s supposed to be.)
5. Read it out loud.
I reserve this approach for the second round through a piece that was pretty clean. Reading the work out loud can help you see where the grammar might be off or where a comma is out of place. However, it might not help you spot the occasional missing article or preposition, which is why you may also want to:
6. Take a break and read it backwards.
Do I mean that you should look at the heading above and read “backwards it read and break a take”?
Sure.
Or you could simply read that line — 5. Take a break and read it backwards. — followed by the previous line — However, it might not help … — followed by the previous line, and on and on.
Why is this helpful? If you read it backwards one word at a time, you’ll likely spot misspellings and maybe some missing words. If you read it backwards one sentence at a time, you won’t get caught up in the narrative flow and instead will be able to see if each sentence is correct and complete by itself.
7. Make a checklist of specific components to check on their own round of edits.
This is what I mean by components:
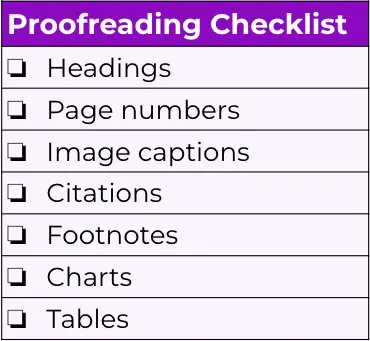
You can create this checklist as you go through the document on your first and second rounds. You’ll still want to check those elements on those rounds — but you’ll also go through the document again only paying attention to the headings, then again for the page numbers, again for the image captions, and so on.
This approach is especially helpful when you’re proofreading tedious technical documents or things (like a university magazine’s alumni notes) that are easy to accidentally start skimming.
8. Search for — and cut — filler words.
Do you (or the writer) tend to overuse that, really, actually, then, so, or any other words? Take note and then hit Command + F (Ctrl + F) to search for those. I’ll do this sometimes and find 12 instances of then in a 1,500-word blog. After I go through, I might be left with two.
I took my own advice and decided to keep every “then”.
Make sure you don’t automatically cut all of them — sometimes these words are needed. Certain sentences are in desperate need of a that. But make sure you only keep the ones that serve a purpose.
9. Proofread your edits.
Believe it or not, sometimes editors insert mistakes when they change the text. Once you’re done going through the document itself, go back through and check your edits. (I like to read through any comments I left to make sure they don’t have embarrassing mistakes.)
In areas of the document where you made a lot of changes, go back over with a fine-toothed comb. Make sure all the needed words, punctuation, and spaces are there. And make sure there aren’t any unnecessary extras, whether spaces or words.
At this point, your document will hopefully be error-free — or as close to it as humanly possible. For an extra backup, you can always run your word processor’s spelling and grammar check, but you’ve probably already caught more than that machine will. 😉
%20(1).webp)
.webp)

