.webp)

My secret to writing long-form pieces that read well and are a breeze to scan through?
Well-researched content with a side of images.
You can use images to make your story more vivid, a guide more clear, and your narrations more relatable.
When I started writing, my belief was that good writing alone is sufficient. It was not until one of my clients told me, “Nobody likes faceless content,” did I sit down to evaluate what I needed to change.
After improving my self-editing skills, outlining, and note-taking processes, I still came up short.
Here’s what an incredibly helpful friend told me was missing: images.
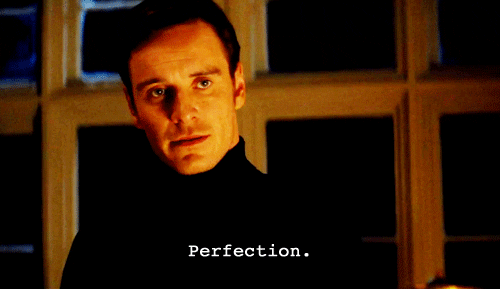
When you write, sound is usually present in your content as text and content tone, but combining the other senses can enrich your reader with better information. For example: If I read a blog post on “How to write a follow-up email after receiving no response”, I would expect the writer to supply images and templates with examples in the form of images.
In this example (from A Step-by-Step Guide to Writing Compelling Intros), if I had only written a “Pro tip” and not added an image of how snappy intros look, my reader would have to read more articles to understand the bigger picture.

Why do you need visuals in your content?
There are some essentials to good writing- a good headline, enough white space, subheads, and visuals that bind all these together. Let’s see what benefits it renders to your content:
Content with images gets more shares
Buzzsumo found articles with visuals every 75-100 words get twice as many shares as those without graphics. If I like a part of a blog, I’d like to snip it out, point out the nuances that grabbed my attention, and explain to my viewers why they should read it.
Images add perspective to your content. If you share a tweet, “I went to the mountains” and the other example with an image of you on the said mountains, the latter will drive more clicks, comments, and engagement to your profile.

Visuals add brevity
Visuals like video or images make the content easier to comprehend and add more directional emphasis to the content. If I write a 3000-word blog post, many readers will scan the content, and pause longer at the images to enhance understanding.
If I write a guide about clickable phone numbers, I would like to explain to the reader what clickable phone numbers are with this example.
Visuals are retained in your memory for longer
Large text chunks can bore your reader. Visuals, on the other hand, make your content appealing while contributing to the discussion. An MIT study found out that the brain can remember and identify images seen for as little as 13 milliseconds — an evidence of rapid speed processing.
They help boost SEO ranking
Images with alt text help the search engine bots crawl your page and understand if it benefits the readers. Even when your readers can’t see this alt text, you can use keywords in it to score a featured snippet.
Some good practices while adding images (suggested by Google)
- Device friendly site
- Add focused context
- Place it in relevant spaces
- Create a good URL structure
- Don’t embed important text in images
- The website should be informative and high quality
There are multiple ways to make your content visually irresistible. I’m talking not just images, but other visual aids as well. Images are good for static information which is self-explanatory, but here are other tools that I like to sprinkle at times when relevant.
1. How to use images
The most simple thing you can do to enhance your content is to add images. Be it smell, taste, or general understanding, images are great auxiliaries to add context. But, you need to understand where to add them first.
There are a few mandatory places to add images:
Featured image
Featured images guide Google and readers on what the blog post is about. In this example, the feature image will instantly reveal the content is related to writing.
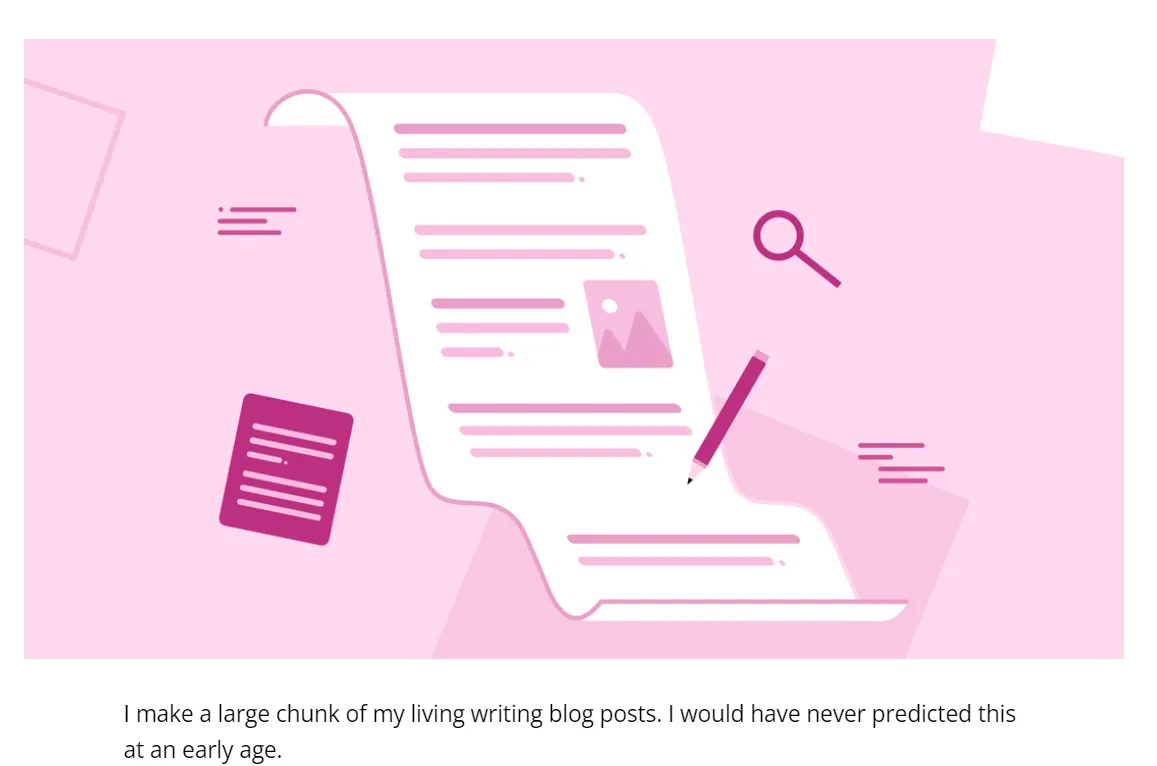
The featured image also makes an automatic appearance when you add the link to an article on social media.
The best practices I follow while creating featured images: Adding a face to it, adding a catchy title, and adding a related animated image to the topic.
Note: Make sure the image matches the brand tone and color scheme. Wordtune’s blogs feature images that are animated and follow a pastel-colored theme.
Generally, an image of 900 pixels is suitable for both desktop and mobile phones.
To explain a process
Whenever you’re writing tech or how-to pieces, you’ll be going down research rabbit holes. Backing your research with images is essential to guide the reader to the right step and give them a peek into the actual process.
For this, I rely on a combination of text images like:
In this example image, the text explains where to find the content type, where are the social media icons, and where to get the results. The reader won’t have to scrutinize each part and can instantly follow the arrows to find the important sections of the image.
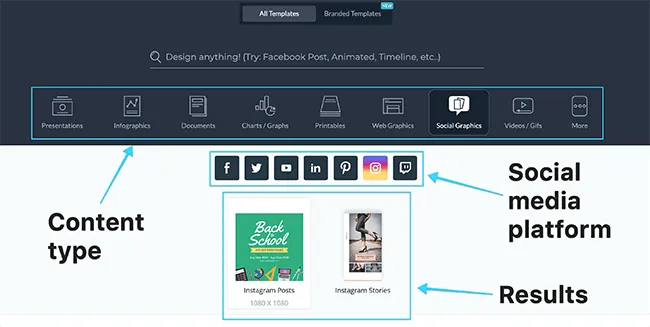
This adds more meat to the image, removes any copyright issues, and ensures the reader is not left hanging on what section or folder to select during a process.
Also, text-driven images explain the process or steps to the readers where jargon might increase confusion.
For listicles
“10 best social media influencers”, and “5 Best editing tools”, are all examples of listicles. When you’re mentioning a person, product, or thing, you’re introducing them. During a physical introduction, the people involved can see the faces and recognize you.
The same goes for these blog posts. If I’m talking about the 10 best tools, I make sure to add the logos or symbols of those tools. When talking about influencers, add their headshots so people can easily identify them.

In this blog post: The writer has added a snapshot of the Twitter profile where the Name, image, and bio are clear, this builds on the authority of the influencer and helps the readers understand what they do.
As examples
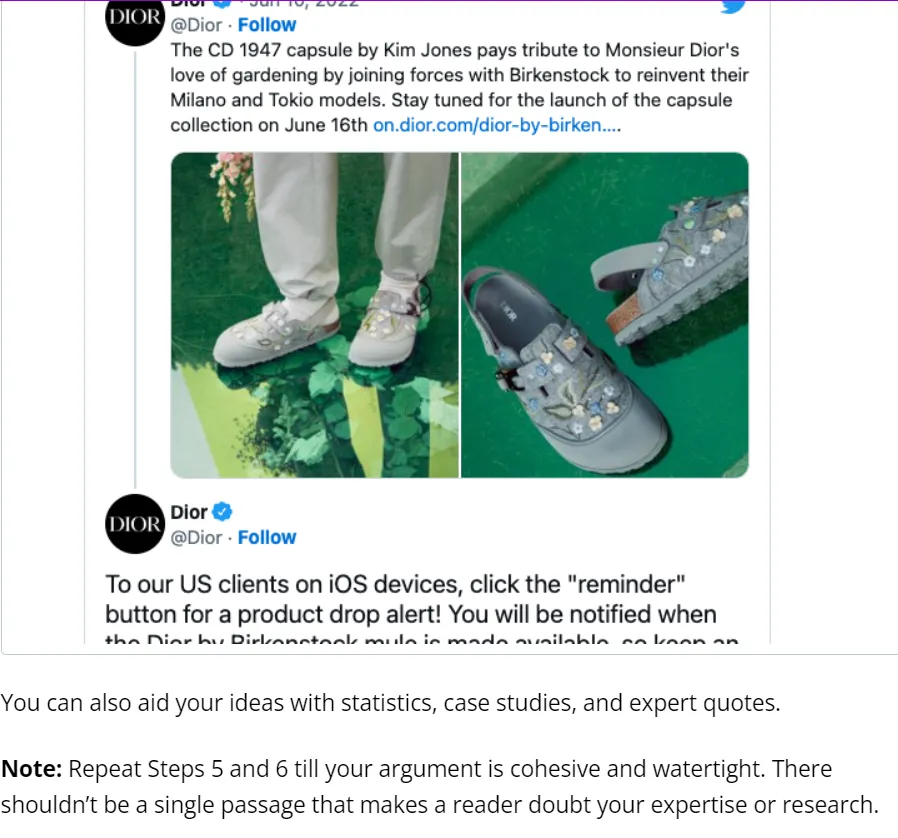
Whenever you’re explaining something, visual proof helps the reader get into the depth of the subject and also extract more knowledge from your example.
If you don’t add one, your reader might jump to another article for that information.
2. How to use GIFs
GIF or Graphic interchange format is a new visual that makes written content more interactive. They help add motion to your content and also break the streak of static images and text. They also adds a light touch to heavy topics.

Note: Download the gif instead of using the embed code and let a website automatically embed it, otherwise the chances of link-breaking increase. Meaning, the image might disappear if any changes happen to the content.
Something to remember to add not more than one GIF on your post because it slows down the speed of the page it’s on. If the size of your GIF is too large, compress it with an online tool.
Some best practice to add GIFs is to ensure they don’t have many frames (keep them short and sweet) as the reader is not looking to watch a whole video in GIF format. Ensure the GIF is not offensive or irrelevant in contrast to its placement as it will put off Google crawlers and you might lose a chance of ranking high.
3. How to use screenshots
The most important tool in the pocket of a writer. Screenshots are personal, data-driven, enriched with information, and unique. Not only the readers, but Google also crawls screenshots, the same as images, checks them for relevance, and adds it to the database.
You can snip on your desktop using Shift+Ctrl+S or Shift+Command+3 on your Macbook.
When adding screenshots, always make sure they’re optimized for mobile viewing because the majority of people read text on their mobile phones. Another thing to keep in mind is snipping the right text and not trimming it like this:

This is a big turn-off for readers as the information is scarce and they’re not here for a guessing game to complete the sentences.
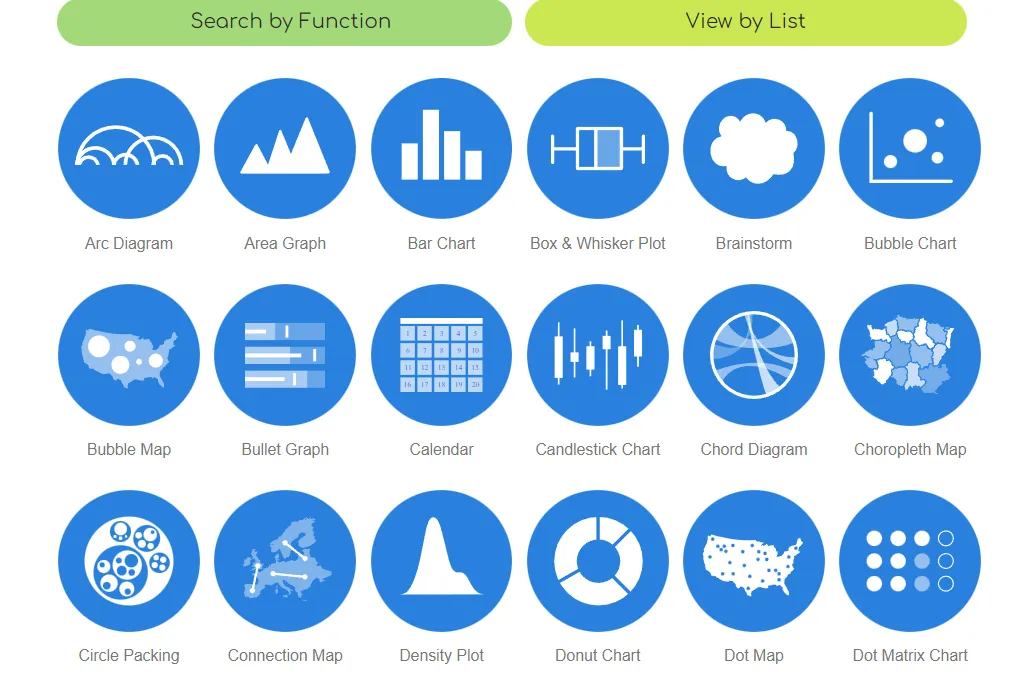
Different types of images to add
Adding visuals is not enough, you have to engage the reader with different types of images that are within their field of vision. Adding only stock photos can be distracting and too many charts make it confusing.
Use a mix of the following to maintain the right balance between your visuals.
1. Charts and graphs
If you’re dealing with numerical data, the best way to cut the fluff and make it more appealing is through pictorial representation in the forms of charts, graphs, and scatter plots.
Here is an example:
Before:
A budget for a household looked like this -
Food = 36.4%
Shelter = 18.2%
Bills = 18.2%
Education = 18.2%
Savings = 9.1%
After:
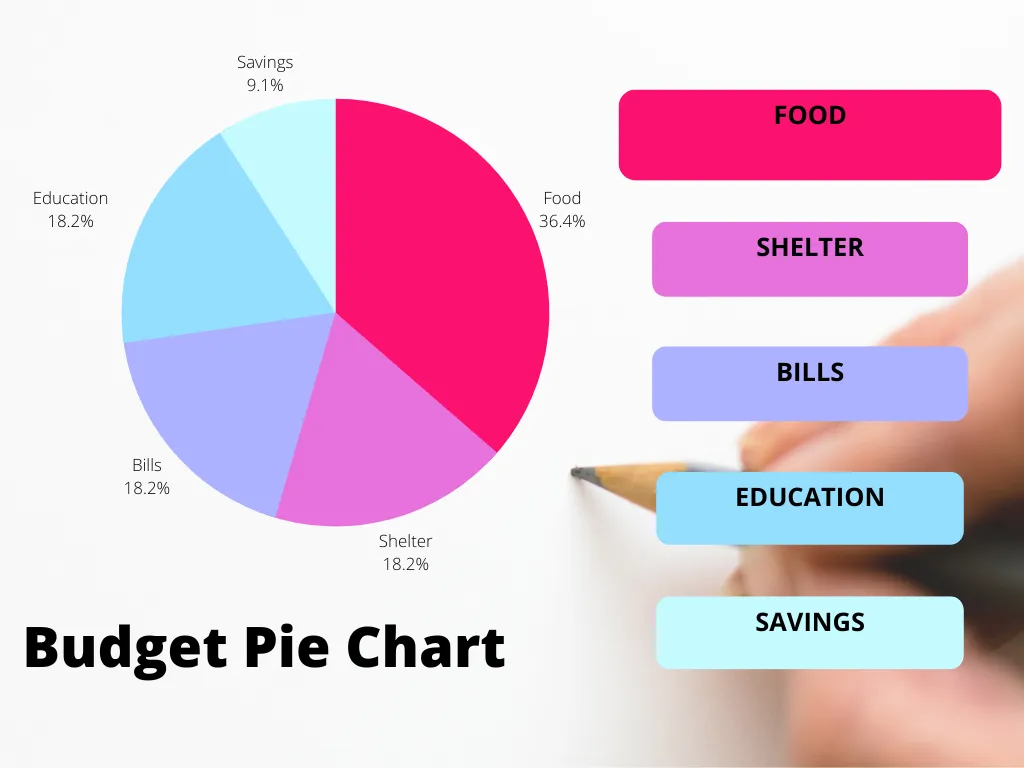
This pie chart makes the information much more aesthetic, gives it a splash of color, and also breaks the monotony of the B&W text theme for the reader.
To understand the different types of charts, you can check out the DataViz Catalog. You can find 60+ kinds of diagrams and charts here for your inspiration.
2. Quotes
Expert quotes or interview excerpts add extra information to your blog post and make it more informational.

You can use editing apps like Canva with built-in templates to update the background image, add more colors, change fonts, or add other formatting options.
These quotes act as motivators for readers and expert quotes with their images besides they act as an accelerant to instill action in the reader.
Note: Always give credit to the original author of the quote. If you don’t it will be plagiarism and you can run into copyright issues. The other part is to keep them crisp, the motto of images is to skip heavy paragraphs, so a 10-20 words quote is enough to retain your target audience.
3. Thumbnails
Thumbnails are excellent interest drivers. YouTubers often use thumbnails to drive views to their content by adding compelling images which gives the users the gist of the video and further drive views to it.
For example:

Using these images in contrast with bright colors can jumpstart views and also give better insights to people. The more visually striking your images are, the more readers you’ll score from them.
4. Infographics
This is a very important kind of image that you can incorporate into your content and help the reader navigate through different stages or steps of your topic. It’s a powerful tool that doesn’t need any additional text to stand out because the information in it is enough for the reader. It’s easier to digest and helps you avoid text clutter.
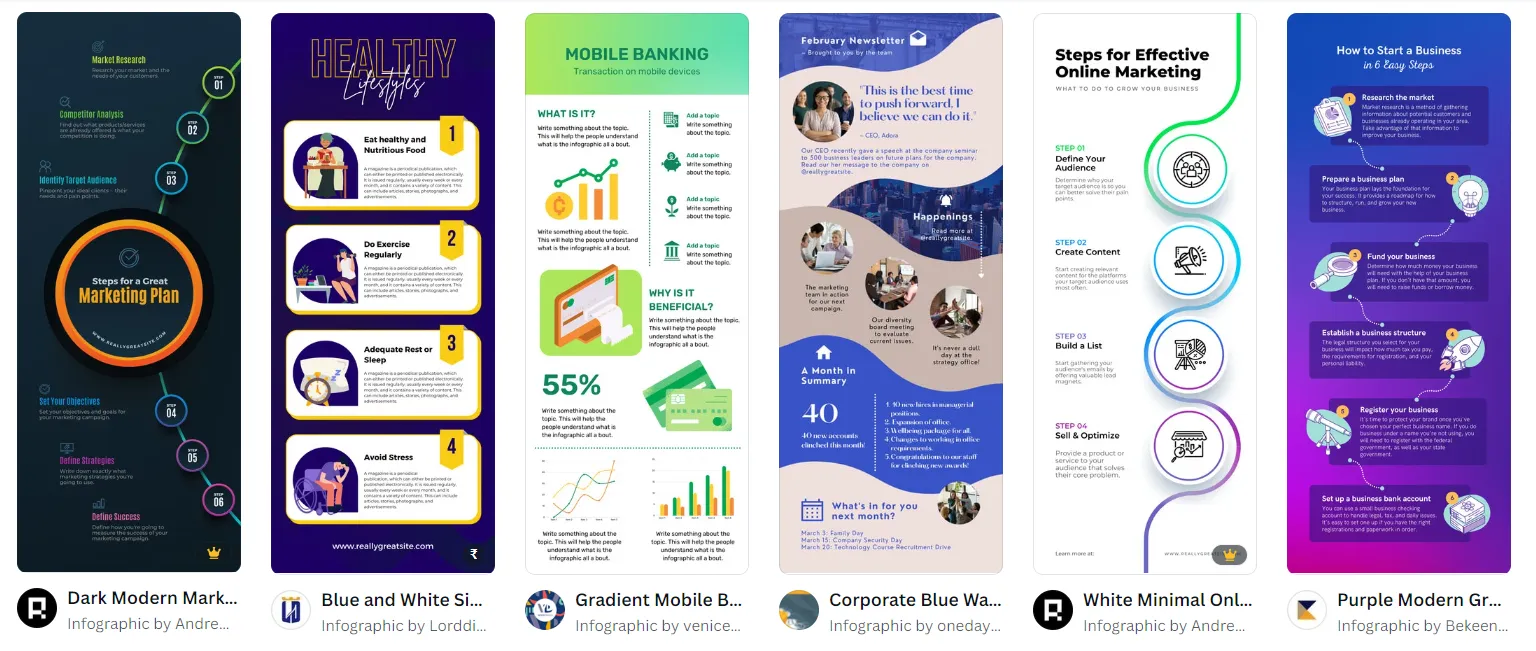
Infographics can be created with the assimilation of info from some survey, industry reports, or stats that lead to a conclusion. These also help build brand credibility as the information in it shows how your research proves a point and why the reader should believe you.
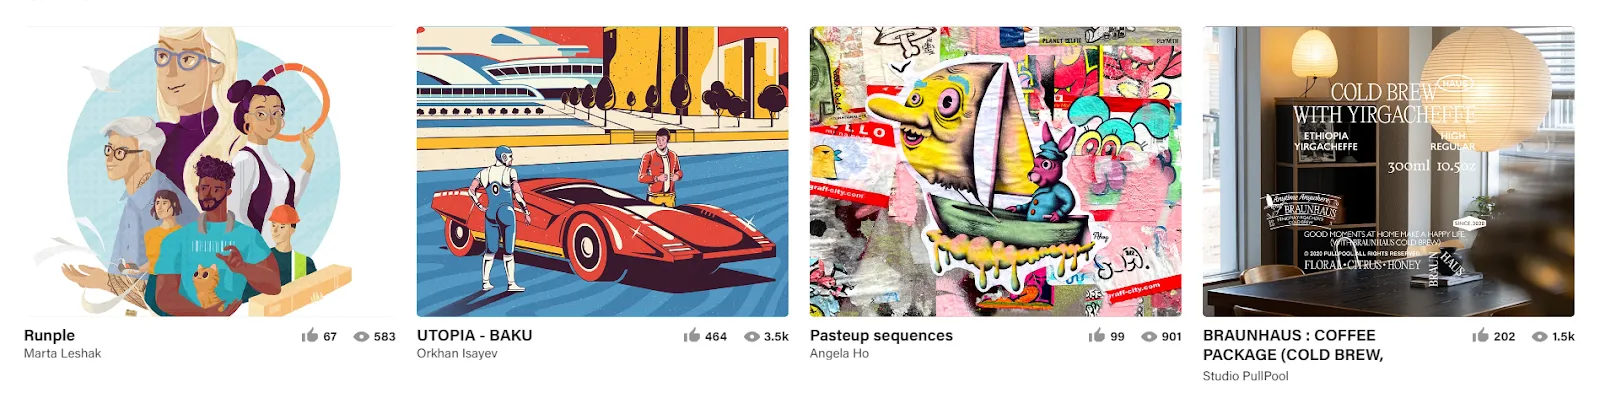
5. Illustrations
Don’t shy away from letting your creativity out sometimes. Instead of spending hours on finding the right images or buying stock images, open your illustrating tool and draw rough and simple images yourself or hire an illustrator.
A good example of this is Henneke’s quirky art on her blog, Enchanting Marketing.
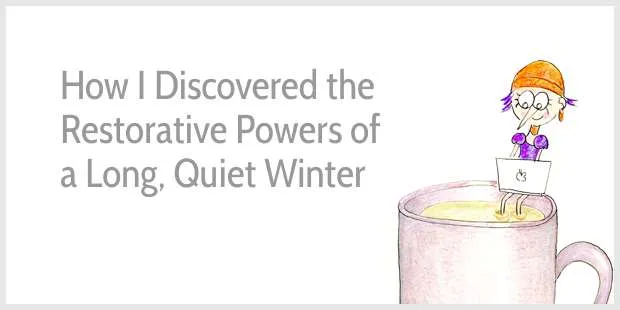
Illustrations are cool and you just need basic knowledge of tools and a subscription to do this. Besides, tons of Youtube videos can help you learn and be better at this art.
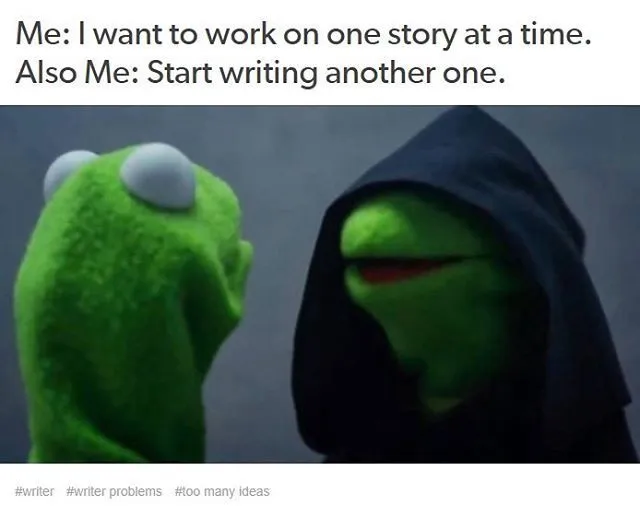
6. Memes
Have a funny anecdote that fits well with the tone of your blog post? Convert it into a meme. As per a survey by Forbes, “60% of people are more likely to buy from a company that uses memes as a part of their marketing.”
4 places to get free images for your blogs
Adding images is easy, but finding one that’s free, and fits the topics is the hurdle. There are multiple ways to solve this problem, these are:
1. Take your own pictures
If you like to add new content that isn’t available anywhere of interest, consider taking your own pictures. This will add to the creativity of your blog and also ensure the readers know they’re talking to a human being.
For blogs where people talk about daily life, food, or traveling, taking original photos is easy. But for tech blogs, finding a picture that fits the context is difficult and takes multiple tries.
While taking these pictures, make sure you use a high-quality camera, take vivid pictures, and enhance them by adjusting the exposure and color as per your content.
2. Hire a pro
An illustrator or photo editor can help you save a lot of time and research exhaustion by using their skills to fit your context. If you blog weekly or almost daily, an illustrator can help you create a cohesive tone with their images and help you add better visuals.
This will imprint the brand colors in your reader’s mind and prompt them to come back on your website.
Before hiring an illustrator, look at their portfolio on websites like Behance or Pinterest. You can hire them full time or freelance by posting your requirements on job boards or searching for related keywords like “Illustrator for hire” or “Freelance illustrator”.
3. Canva
This is a profound tool for all your designing needs, without a steep learning curve. They have tons of free templates on every topic, options to add images, and a premium version with millions of more templates to choose from.
You can create your own graphic from scratch too and even add your team for different projects. You can also find custom dimensions for different purposes like posters, cover photos, featured images, and more.
4. Stock Photos
If none of the options suffice your needs, stock photos are always there. Although not the first choice, it can be useful if you want to use pre-clicked images from common topics like “Cities”, “Flower”, “Meetings”, and more.
Remember, the free stock images can be present on any blog as there are no restrictions as long as the owner gets the credit. If you do it without consent and credit, the photographer can sue you. But how to find these free images? Here are some options:
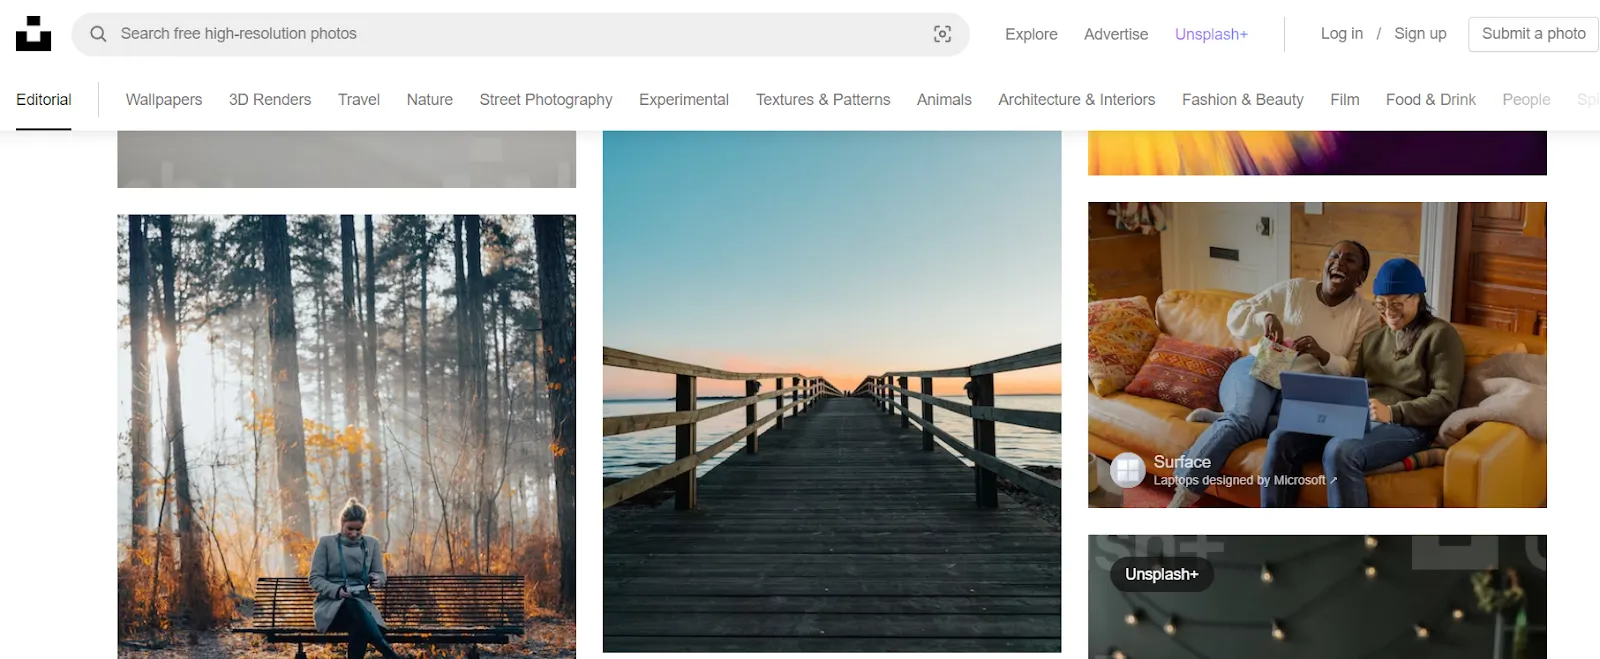
Unsplash
Unsplash is a great tool for finding both free and paid stock images of different dimensions and topics. The website is easy to use and the licensing for the images is very clear. This website has different categories and you can even find videos to use too.
Freepik
Here you can find free vectors, stock photos, and PSD downloads to add to your blogs.
Remember: Use images that are not very common. To find this, check the number of downloads or see the topic-related blogs.

You can get both free and paid resources here. If you use paid photos, you’re more likely to get a unique image for your blog, as the free ones are accessible by anyone.
Pixabay
Pixabay is great for finding images because you can alter and modify a bunch of them too. For example, you’ll find the tag “Creative Commons” (CC0) under this kind of image. This will allow you to add a twist to the image and make it your own without legal intervention.
Some other free tools include: VectorStock, Shutterstock, Pexels, and more.
Activating the 5 senses with visuals
The five senses include: Sight, sound, touch, taste, and smell. You can use visuals to activate these senses and help readers create an experience, memory, or imaginative scenario related to your writing.
Sight
Sight is the essential aspect of content, the more visually pleasing the content looks to the reader (both the text and images), the more impact it leaves. This can be paired with the power of color schemes and formatting to make your images a sight for sore eyes.
These images can create emotions of anger, happiness, curiosity, passion, or comfort, and the colors can be the trigger. For example, red and black are the basic color schemes for a horror-themed blog to add suspense and mystery.
Sound
Videos! Readers will find your content more interactive if they hear a sound, which adds a more memorable stance to the story and also gives a better visual picture.
For example, videos or Gifs with sounds or descriptions of sounds, “Eerie”, “Cackle”, or “Grunt”, etc., can add more context to your text. Some ways to add sound to blogs are:
- Embedding Youtube Videos
- Turning podcasts into blogs
- Adding expert quotes in verbal form
- Creating a slideshow with sound effects
- Adding transcribed version of an interview
For touch, taste, and smell
These three senses relate more to the visual than the type of visuals. So, for example, if you’re talking about “The best-baked goods of 2023”, adding the image of the freshly baked goods will activate the sense of smell (the familiar bakery smell will linger in your mind if you love that food).
In the same way, seeing the image of something tasty makes your mouth water, and an aesthetic image reminds you of eating that baked good.
Best practices for adding images
Here are a few best practices for adding images:
Image height
Always use images that are “Square” or “Rectangular” in shape. Long photos take up too much space and are hard to read if they contain text. This is especially true for low-resolution devices. If this image is too long, the readers will forget about the previous text in a few seconds.
The ideal height: width ratio is 16:9 or a maximum of 4:3. Make sure the text comes under the same page as the example image so the reader can pair it together.
Image quality
Low-quality images are a no-go and make your content ominous to look at. A blurred or low-resolution image is hard to remember and incompatible with high-resolution devices. To ensure your image is always retina ready, use 2X-sized images compared to your content area. For example: If your area is 500px, upload a 100px image.
File size
If you’re adding multiple images in a post, ensure to keep the size to a minimum, or it can slow down the loading speed. On the other hand, an image exceeding 1 MB can be harmful to SEO and create issues that will reduce your rank on the SERPs.
To avoid this, use compression tools, and choose formats like jpg or png for flatter graphics.
Add captions and source
Images without any explanation are just as good as text without a CTA. Adding captions and sources will help the reader comprehend what the image signifies and where did you get it from.
It’s also a sign of transparency and builds trust with your audience. For example, if your image doesn’t load for some reason, the readers can still get some info from the caption.
Be aesthetically relevant
Visuals are critical for page views, shares, and actions are taken. We often say a blog is “Written”, but the writer deep dives into every aspect of a topic to design an experience for the readers. A good image increases the exposure to your blog and makes the content stand out!
So research, create, and add relevant images to give your readers an exceptional piece with the tips shared in this article.
%20(1).webp)
.webp)

